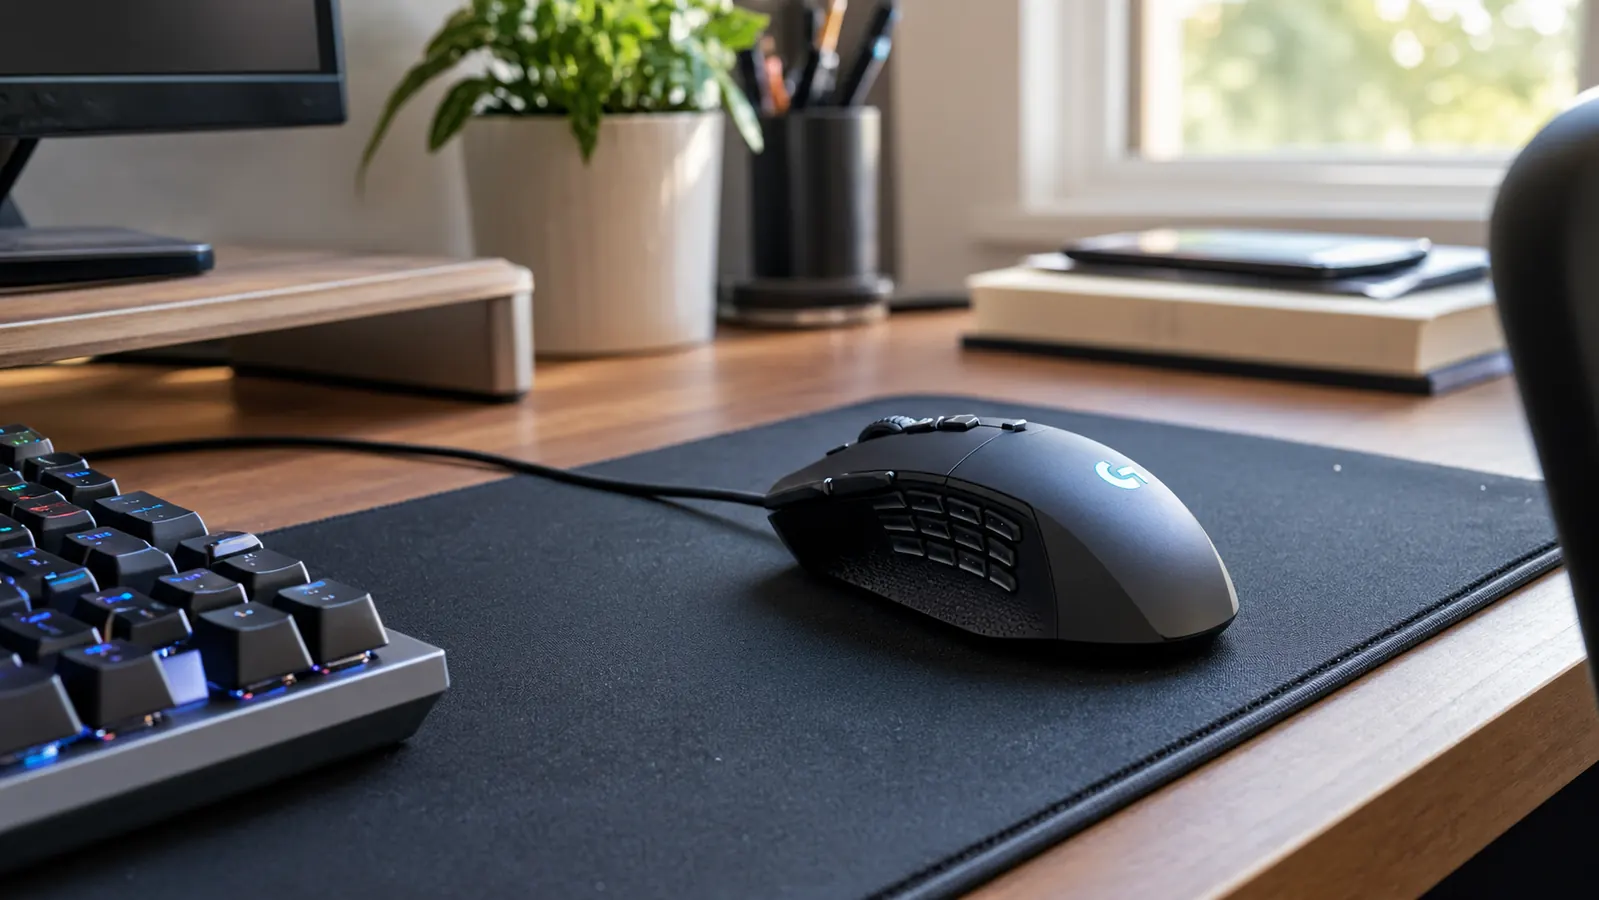
If you just plugged in a Logitech G502 Hero and started playing, you are probably getting a decent experience already. Out of the box it runs at 800 DPI, which feels fine for everyday work and even some shooters. But the G502 has 11 programmable buttons, a DPI shift sniper button, and five DPI steps you can tune, and none of that does anything until you open G HUB and spend fifteen minutes setting it up. This is the walkthrough I give people when they ask me to set up their mouse, written down so you can do it yourself.
I am Mark, and I have been building and upgrading gaming PCs as a hobby for about twenty years. The G502 Hero has been on my desk for a while now, and I have set up three for friends and one for my son Owen. Last month I set up another for a coworker who had been gaming at the default 800 DPI for six months because he assumed the software was too complicated. It took us about twenty minutes from download to his first match, and he said his aim felt steadier by that same evening. That experience is what this guide is built on. What follows is the exact process I use, with the settings I have landed on after plenty of trial and error.
Get the mouse that keeps its settings on board
The G502 Hero saves your DPI steps and button mappings to the mouse itself, so your setup follows you to any PC. Check today's price on Amazon and see why it is still a favorite among people who build their own rigs.
Amazon Check Today's Price on Amazon →What You Need Before You Start
You need three things: the mouse, a PC with an internet connection, and the Logitech G HUB software. The G502 Hero is wired, so there is no pairing step and no battery to worry about. Plug it into any USB port and Windows will recognize it immediately. The mouse works fine at a basic level without G HUB, but you cannot change DPI steps, remap buttons, or set up profiles until you install it.
Download G HUB from the official Logitech G website rather than a third-party download site. The installer is a few hundred megabytes, so give it a minute. Once it is installed, G HUB will detect the G502 Hero automatically and show a picture of the mouse on the home screen. If it does not, unplug the mouse and plug it back in, or restart G HUB.
One note: G HUB can be a little slow to open on older PCs, and it occasionally forgets that it is already running. That is a software quirk, not a problem with the mouse. If the software feels sluggish, close it and reopen it. The mouse itself keeps working the whole time.
Step 1: Set Your DPI Steps
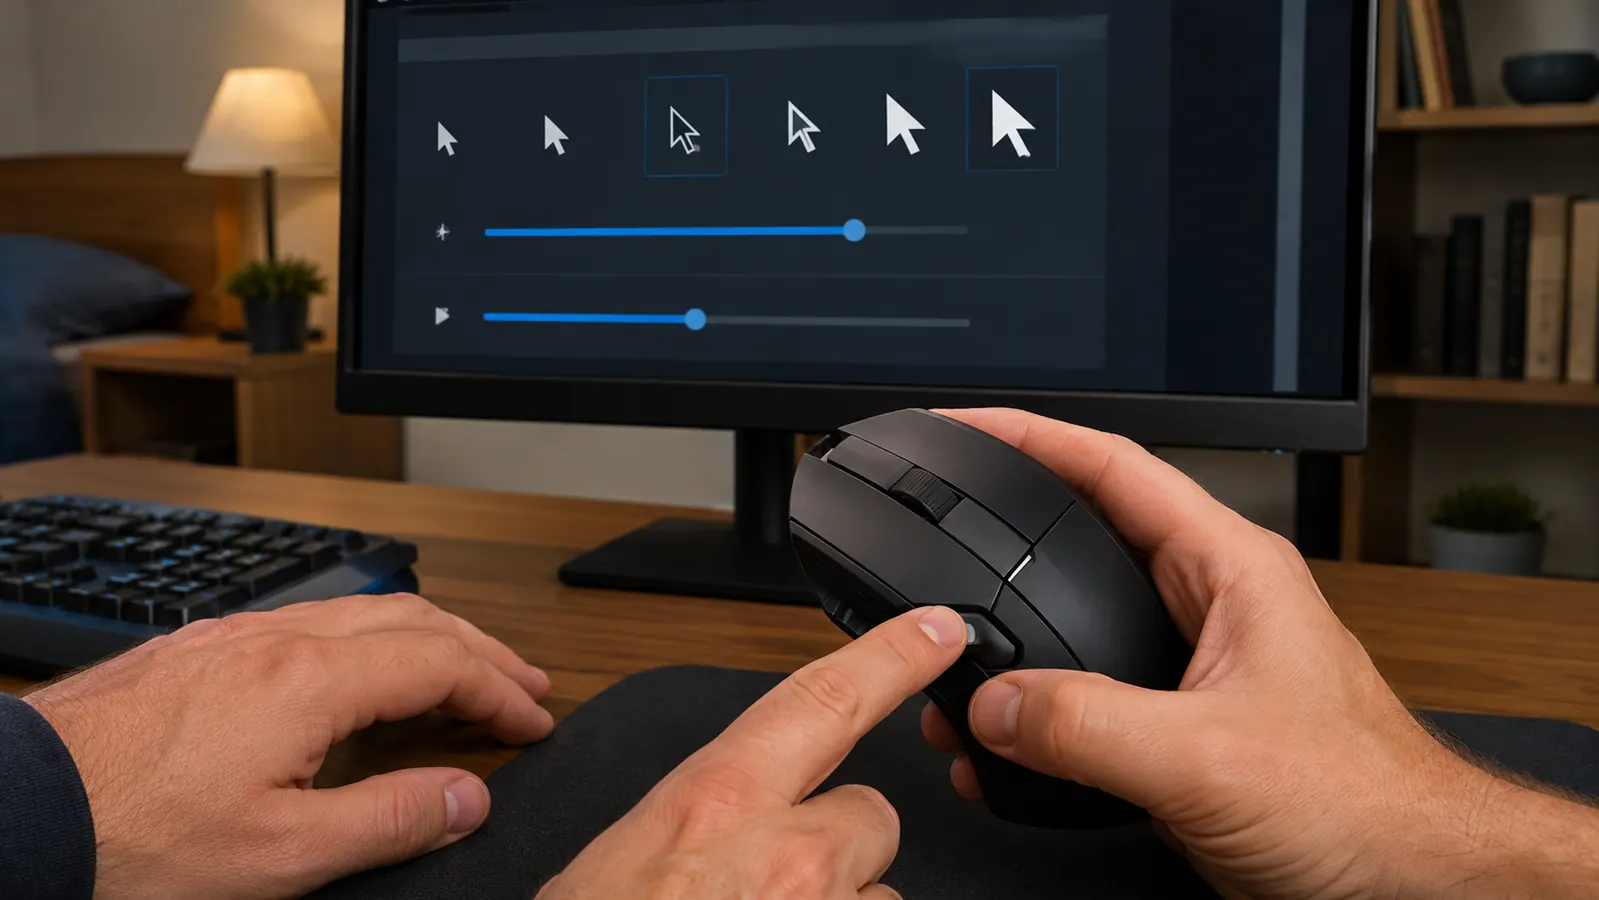
Click the mouse image in G HUB, then click the Sensitivity icon in the left menu. You will see a row of five DPI slots, one for each of the colored lights on the mouse. By default they are set to 400, 800, 1600, 3200, and 6400. You can click each slot and type in a new value, or drag a dot along the scale. The scale goes from 100 to 25,600 DPI, which is far more than anyone actually needs.
My advice is to pick three values you actually use and leave the rest alone. I run 800 for desktop work and web browsing, 1600 for most games, and 2400 for games where I need to turn around quickly. I keep 400 for the rare times I want a very steady slow sweep, and I leave the fifth slot at whatever default it had. You can always change them later, so do not stress about getting it perfect on the first try. The first time I set up my own G502 I copied a DPI list from a pro player's stream and hated it within a day, because those values made no sense for the games I play. That is how I learned to start from what feels natural. When Owen tried my settings he dropped straight to 400, the lowest number he could find, and overshot every corner until we talked through each step.
The DPI buttons sit right behind the scroll wheel, two small buttons stacked vertically. Pressing the top one cycles up through your DPI steps; pressing the bottom one cycles down. The current step lights up on the mouse, so you can see which one you are on without looking at the screen. That light color is customizable in G HUB, but the default is fine for most people.
Step 2: Set the Polling Rate
Still in the Sensitivity menu, look for the Report Rate setting. This is how often the mouse tells your PC where it is, measured in hertz. The G502 Hero supports 125, 250, 500, and 1000 Hz. The default is 1000 Hz, which is what most gamers want, and it is what I use. It is also what the mouse uses for its on-board profile, so you do not need to change it unless you have a specific reason.
There is a persistent myth that 1000 Hz causes higher CPU usage and should be lowered on weaker systems. In practice, the difference is tiny. A modern CPU handles 1000 Hz without breaking a sweat. I tested that on a seven-year-old laptop I keep around for remote work, running an unoptimized shooter at medium settings. Frame times stayed flat whether the mouse was at 125 Hz or 1000 Hz. The only difference I noticed was that the cursor felt slightly smoother at 1000 Hz on the desktop, which is the opposite of the myth. Set it to 1000 and forget about it.
Step 3: Remap the Buttons
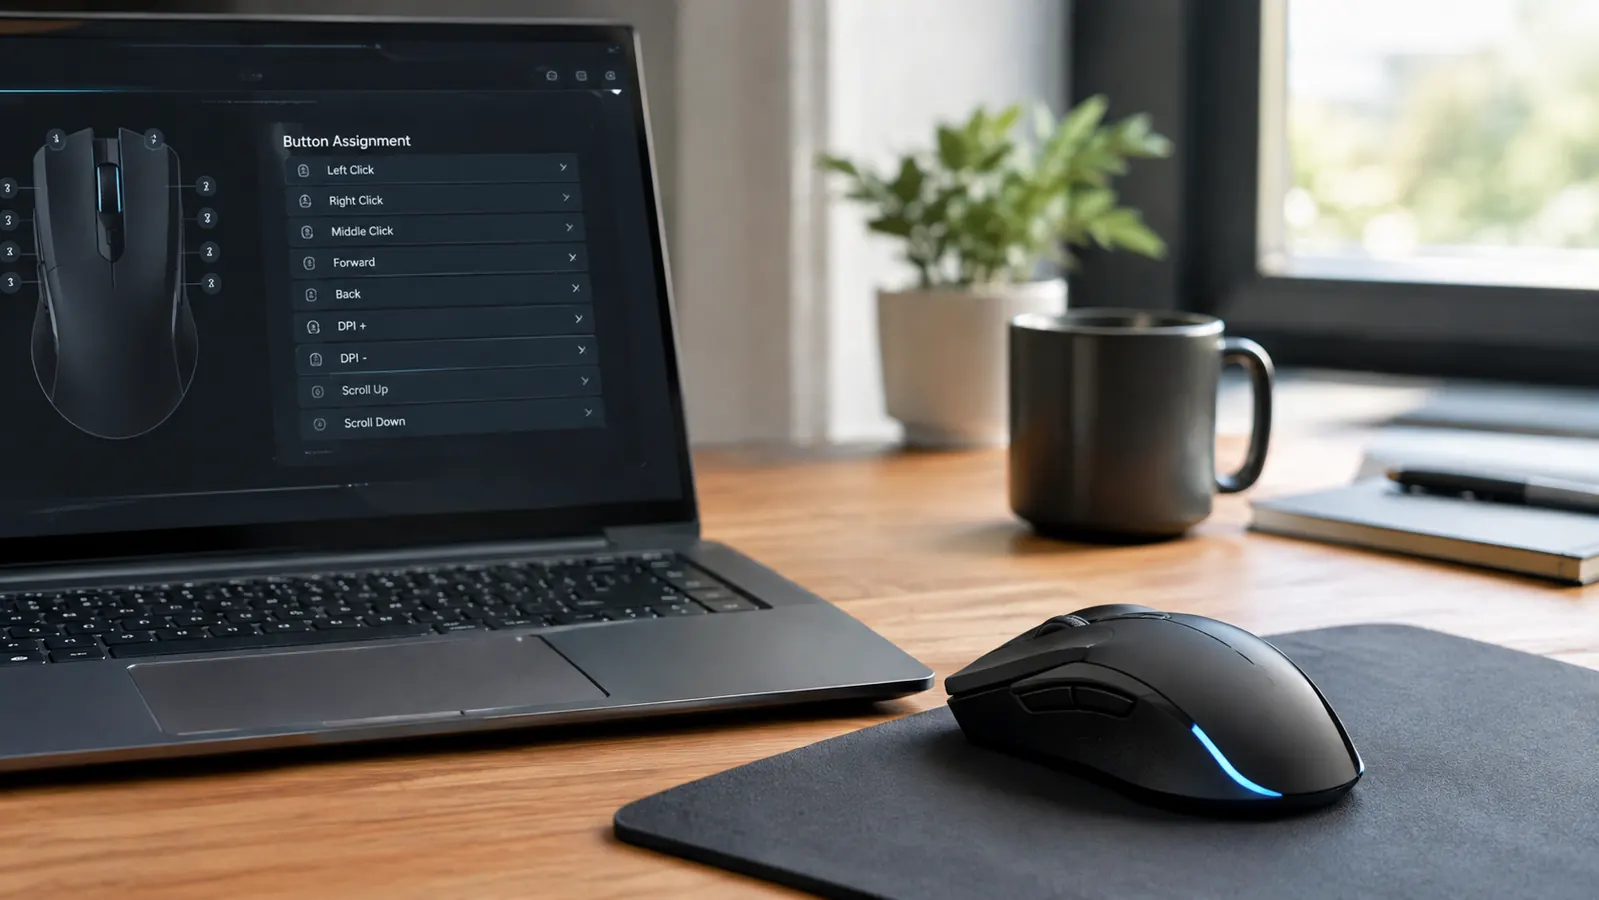
Go back to the main mouse screen in G HUB and click the button you want to change. A list of assignments pops up. You can assign a keyboard key, a mouse function, a media control, a macro, or a system action like copy and paste. The G502 Hero has 11 programmable buttons, which sounds overwhelming, but you do not need to assign all of them. Start with the ones you will actually use.
The two thumb buttons on the left side, G4 and G5, are the ones most people remap first. By default they act as browser back and forward, which is useful for desktop work but not for gaming. I set G4 to melee and G5 to push-to-talk in most games. The button behind the scroll wheel, G7, I leave as DPI shift so I can hold it to drop my sensitivity for precise shots. The three buttons on the far left edge, G6, G8, and G9, are harder to reach and I usually leave them unassigned. My first remap attempt failed because I assigned push-to-talk to G8, the forward-most of the three buttons on the left edge, and I kept fumbling for it in the middle of a firefight. Moving it to G5, right under my thumb where I could find it without looking, fixed the problem by the next evening.
If you want a button to do something in one game and something else in another, that is what profiles are for. Click the profile drop-down at the top of G HUB, create a new profile, assign it to a specific game, and set its own button mappings. When you launch that game, G HUB switches profiles automatically. This is the feature that turns the G502 from a good mouse into a great one.
Step 4: Set Up On-Board Profiles
Scroll down in the main mouse screen and look for On-Board Memory Mode. When this is enabled, your DPI steps, button assignments, and lighting settings are saved directly to the mouse's internal storage. That means you can unplug the mouse, plug it into a different PC, and your settings come with it. No software install needed on the second machine. This is the setting I enable on every G502 I set up, including my son Owen's, because it saves a lot of headaches.
The G502 Hero has room for five on-board profiles. You can switch between them with the button on the bottom of the mouse, or assign a G-button to cycle through them. In practice, most people only need one or two profiles. I keep one for desktop work and one for gaming, and I switch with the bottom button when I sit down to play. It takes one second and it beats fiddling with G HUB every time. The first time I switched profiles with the bottom button I pressed it while the mouse was upside down and spent a confused minute wondering why my DPI felt wrong. Once you know where the button sits, it is easy to find without looking.
When On-Board Memory Mode is on, G HUB shows a warning that some features are not available in this mode. That is normal. Lighting effects and some macro features only work when G HUB is running in software mode. For most people, the trade-off is worth it because the mouse just works everywhere. If you want the full RGB effects, switch back to software mode and let G HUB run in the background.
Step 5: Fine-Tune With the Sniper Button and Weight System
The G502 Hero has a dedicated sniper button near the left click. By default, holding it drops your DPI to 400 for as long as you hold it. This is meant for precise shots in shooters, but it has plenty of other uses. I use it for fine cursor work in photo editing and for selecting tiny UI elements in strategy games. You can change the sniper DPI value in G HUB, or reassign the button entirely if you never use it.
Under the mouse is a small door that opens to reveal a weight tray. The G502 Hero comes with five 3.6 gram weights, so you can adjust the total weight from 121 grams up to about 139 grams. If you like a heavy, stable mouse, put them all in. If you prefer a lighter feel, take them out. I run mine with two weights in, because I like a little heft without feeling like I am dragging a brick. This is a personal preference, so experiment for a week and see what feels right.
One thing to know: the weight tray is held in place by a small magnet, and the door is easy to lose if you set it down somewhere random. Put it back in the tray when you are done adjusting weights. I learned this the hard way when Owen borrowed my mouse and the door ended up under the desk.
What Else Helps
A mousepad with a bit of texture helps the HERO 25K sensor track consistently, especially at high DPI. I use a plain cloth pad and it is fine. If you play on a glass desk without a pad, you may notice the cursor jitter at high DPI, so grab a cheap pad. Also, keep the sensor lens clean. A quick puff of air or a cotton swab every few months keeps the tracking accurate. That is about it. The G502 Hero does not need much maintenance.
If you are new to Logitech G HUB, give yourself an evening to poke around. Open each menu, click each setting, and see what it does. You cannot break anything by experimenting. Worst case, you reset the mouse to default in G HUB and start over. I have done that more times than I can count, and it takes less than a minute.
Frame times stayed flat whether the mouse was at 125 Hz or 1000 Hz.
Set it up once and forget it
The Logitech G502 Hero is the mouse I recommend when someone wants a wired gaming mouse that does not require constant fiddling. Check today's price on Amazon and see if it fits your setup.
Amazon Check Today's Price on Amazon →