
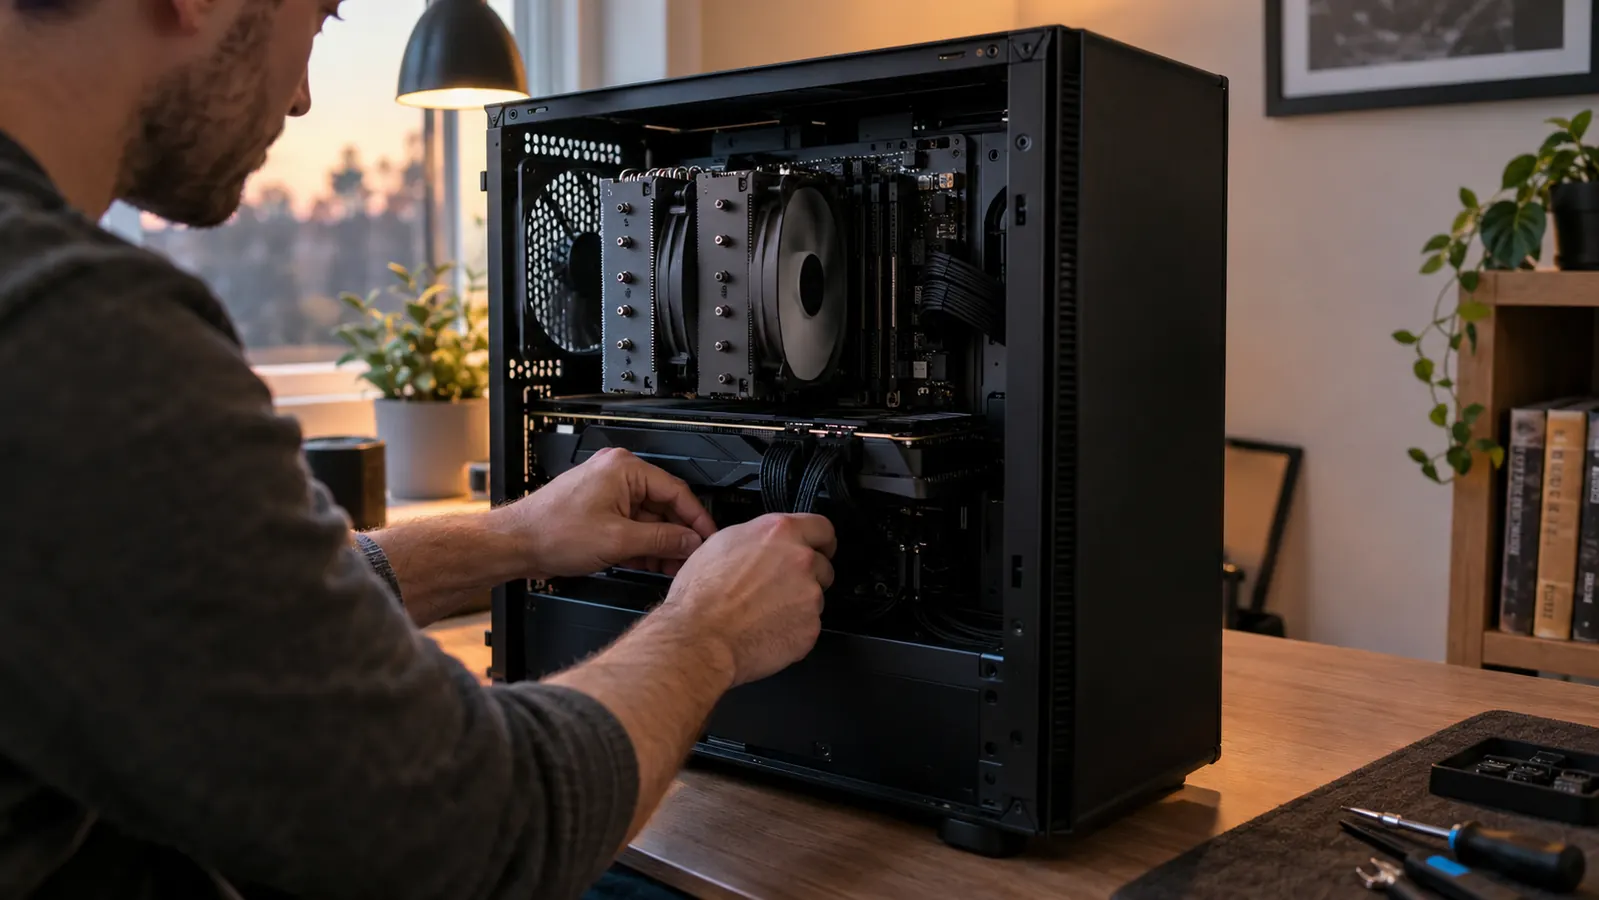
The first time I built a gaming PC for myself, I assumed the stock cooler that came with the CPU would be fine. It wasn't. Within a year, my processor was creeping toward 90 degrees Celsius during longer sessions, the fan sounded like a small vacuum cleaner, and my frame rates took a visible hit right in the middle of a fight. That's thermal throttling, and it's the reason I swapped in the Thermalright Peerless Assassin 120 SE.
I'm Mark. I've been building and upgrading gaming PCs as a hobby for about twenty years, and I work in IT support, so I've seen plenty of coolers come and go. This guide walks through exactly how I installed the Peerless Assassin in my own mid-tower, what to watch out for, and how to set it up so it stays quiet while it keeps your CPU cool.
The cooler that fixed my temps
The Thermalright Peerless Assassin 120 SE is the dual-tower air cooler I've used for over two years. It keeps my CPU in the low 60s while gaming, and it's quiet enough that my wife stopped asking if something was wrong with the computer. Check today's price on Amazon to see if it fits your build.
Amazon Check Today's Price on Amazon →Why I switched to an air cooler
I've used all-in-one liquid coolers in the past, and they work, but I kept coming back to air. The reason is simple: an air cooler has fewer parts that can fail. No pump, no fluid, no radiator to leak. The Thermalright Peerless Assassin 120 SE is a dual-tower air cooler with six heat pipes and two 120mm fans, and in my experience it performs as well as a 240mm AIO without the worry.
I also care about noise. My desk is in a spare bedroom that doubles as my home office, so the PC sits a couple of feet from my head. With the Peerless Assassin, the fans idle low and only ramp up when the CPU is actually working. That matters more to me than shaving off another two degrees. My son Owen uses the same PC on weekends, and he never complains about the sound either.
What You'll Need
Before you start, gather a few things. You'll need the Thermalright Peerless Assassin 120 SE itself, a Phillips head screwdriver, isopropyl alcohol, and a lint-free cloth or coffee filter. The cooler includes its own thermal paste, mounting brackets, and a fan splitter cable, so you don't need to buy anything else unless you already have a favorite paste.
You'll also want a clean, flat workspace with good light. A lot of the screws and brackets are small, and it's easy to lose one in the carpet. I do my builds on the kitchen table with a towel down, then move the case to my desk once everything is mounted.
Step 1: Measure your case clearance first
The Peerless Assassin is a tall cooler, about 155mm high. Most mid-tower cases fit coolers up to 160mm, so it usually fits, but you need to check before you buy. Open your case manual or look up the maximum CPU cooler height on the manufacturer's page. If your case only fits 150mm, this cooler won't close properly, and you'll be returning it or cutting holes in your side panel.
The other measurement is RAM clearance. Because the front fan sits over the memory slots, tall RAM sticks can get in the way. The Peerless Assassin works with most standard-height RAM, but if your RAM has a big heatsink, you may need to move the front fan up a bit. I had to shift mine up about 5mm to clear my memory, and it still cooled fine. Check your RAM height before you start.
Measure the distance from the CPU to the side panel while you're at it. If you have a glass side panel, you want a few millimeters of clearance so the glass doesn't press against the heat pipes. A little planning here saves you from taking everything apart later, which is exactly the kind of mistake I've made more than once.
Step 2: Remove the old cooler and clean the CPU
Power down the PC, unplug it, and lay the case on its side so the motherboard is horizontal. That keeps the old cooler from pulling the CPU out of the socket when you lift it. I've seen people yank a CPU right out of the socket because they forgot this. It's not a fun repair.
If you're replacing a stock cooler, it probably uses a push-pin or lever design. Release it gently, then twist the cooler slightly before lifting. The thermal paste will resist, so a little wiggle helps break the seal. Don't force it. If it feels stuck, run the PC for a few minutes to warm the paste first, then try again.
Clean the old paste off the CPU with isopropyl alcohol and a lint-free cloth or coffee filter. Wipe until the surface looks clean and slightly shiny. Don't use a paper towel, it leaves lint behind and can make the new paste spread unevenly. If the old paste is dried on, give it a few passes with the alcohol and let it soften for a moment.
Step 3: Install the mounting hardware
The Thermalright Peerless Assassin comes with brackets for both AMD and Intel sockets. For Intel LGA 1700, you place the backplate behind the motherboard, then screw the standoffs in from the top. For AMD AM4 and AM5, the cooler uses the stock mounting brackets that come with the motherboard, so you don't need to swap anything out.
Take your time here. The instructions that come with the cooler are mostly diagrams, and they're decent, but it's easy to mix up the standoffs. Lay the parts out in the order the manual shows, and double check that the backplate is oriented correctly before you tighten anything. Getting this wrong means taking the whole cooler off again.
Tighten the screws evenly, a few turns on one side, then a few on the other. If you tighten one side all the way first, the bracket will sit crooked and you'll fight it for the rest of the install. The goal is a flat, even mount, and that starts here.
Step 4: Apply thermal paste and mount the cooler
I use the pea method. Put a small dot of thermal paste, about the size of a grain of rice, in the center of the CPU. You don't need to spread it, the pressure of the cooler spreads it for you. More paste doesn't mean better cooling, it just means a mess. A thin, even layer is what you're after.
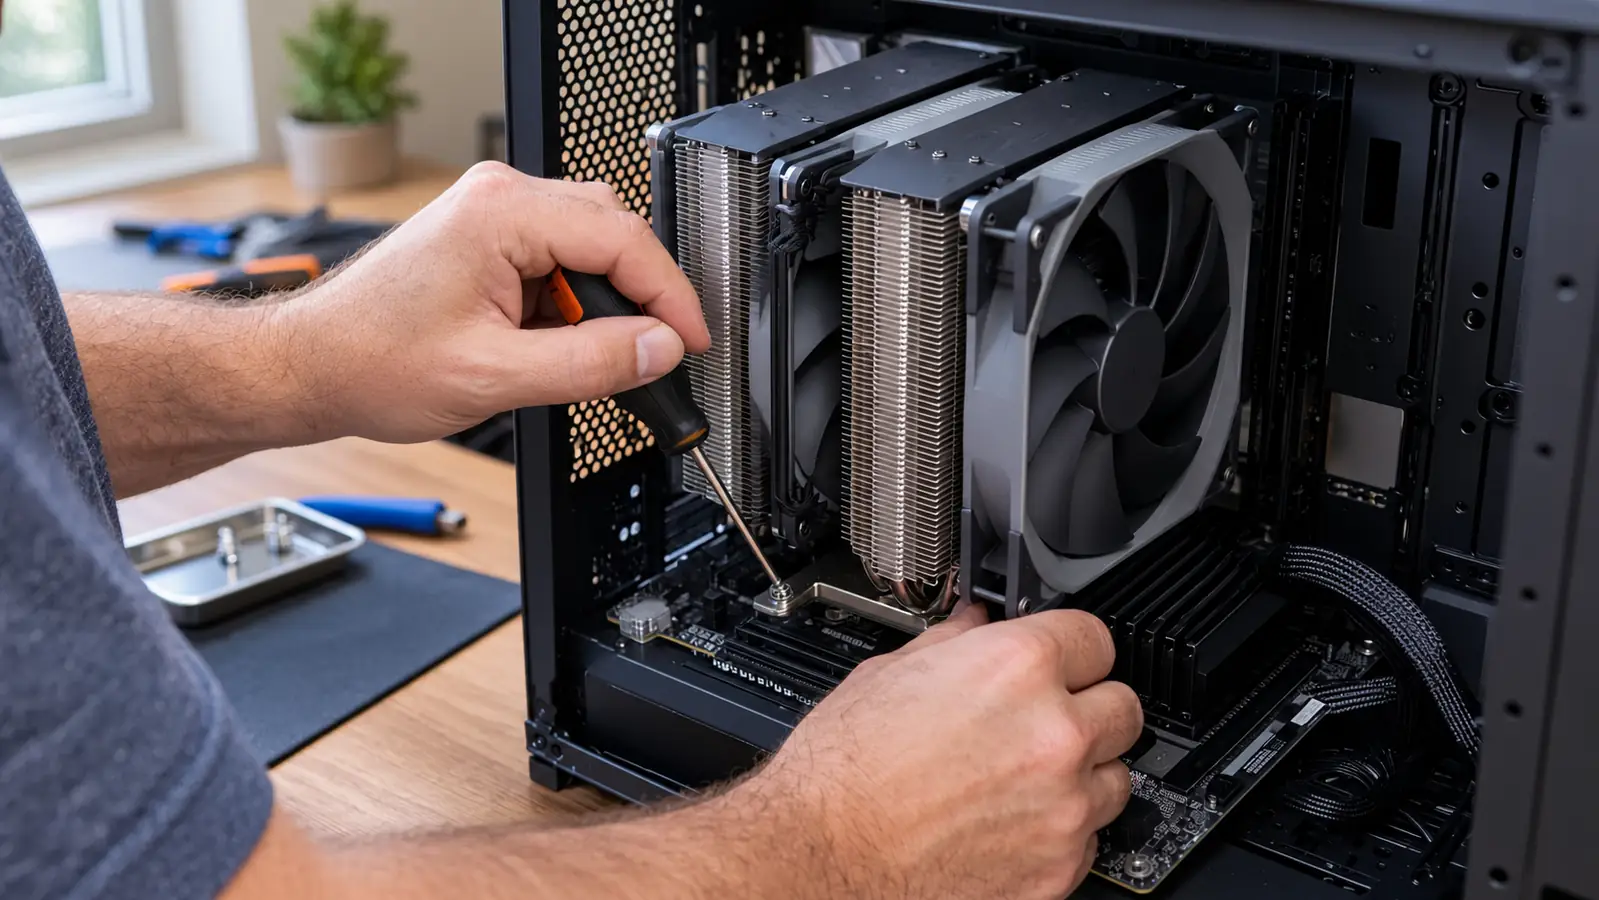
Lower the cooler onto the CPU straight down. Don't slide it side to side, that can push the paste off the center. The Peerless Assassin uses a dual-tower design with two fans, so it's heavier than a stock cooler. Hold it steady while you thread the mounting screws, and don't let go until the screws are started.
Tighten the screws in a cross pattern, a little at a time, until the cooler sits level. Then connect the two fan cables to the CPU fan header. The Peerless Assassin comes with a splitter cable, so you can run both fans from one header. That keeps the wiring tidy, which matters when your desk is also your office.
Step 5: Set a sensible fan curve and test
Boot the PC and go straight into the BIOS. Find the fan control section and set the CPU fan curve so the fans stay slow at low temperatures and only speed up when the CPU gets warm. A flat, aggressive curve will make the cooler louder than it needs to be, and quiet was half the reason I switched.
Then run a stress test or just play your usual game for an hour. Keep something like HWInfo open in the background so you can see the maximum CPU temperature. With the Thermalright Peerless Assassin, I see temperatures in the low 60s during gaming, and the fans stay at a level I can barely hear.
If your temps still look high, check that the cooler is mounted firmly and that the fans are actually spinning. It's almost never the cooler's fault. In my experience, a loose mount or a forgotten fan header is the cause nine times out of ten. Fix that, and the temperatures usually fall into line. And give the cooler a day or two to seat properly, thermal paste can settle a little after the first few heat cycles.
What Else Helps
A cooler is only part of the temperature story. Make sure your case has decent airflow. I run two intake fans at the front and one exhaust at the back, and that alone dropped my temps by a few degrees. Also check your case's fan filters. A dusty filter can choke airflow more than you'd expect.
Undervolting is another thing worth trying if you're comfortable with it. A small undervolt can drop temperatures by five to ten degrees without any noticeable performance loss. It's not required, and the Peerless Assassin usually means you don't need it, but it's a nice option to have if you like tinkering. Just be aware that undervolting takes a bit of trial and error, and it's not something you need to do on day one.
Common Mistakes I've Seen
The most common mistake is not checking case clearance before buying. The second is using too much thermal paste. The third is plugging the fans into the wrong header, or forgetting to plug them in at all. All three are easy to avoid, and all three will make you think the cooler is bad when it isn't.
Another one is leaving the protective sticker on the base of the cooler. It sounds like something nobody would do, but it happens. The cooler base has a clear plastic film over the contact plate, and if you don't peel it off, your temperatures will be terrible no matter how well you mount everything.
Final Thoughts
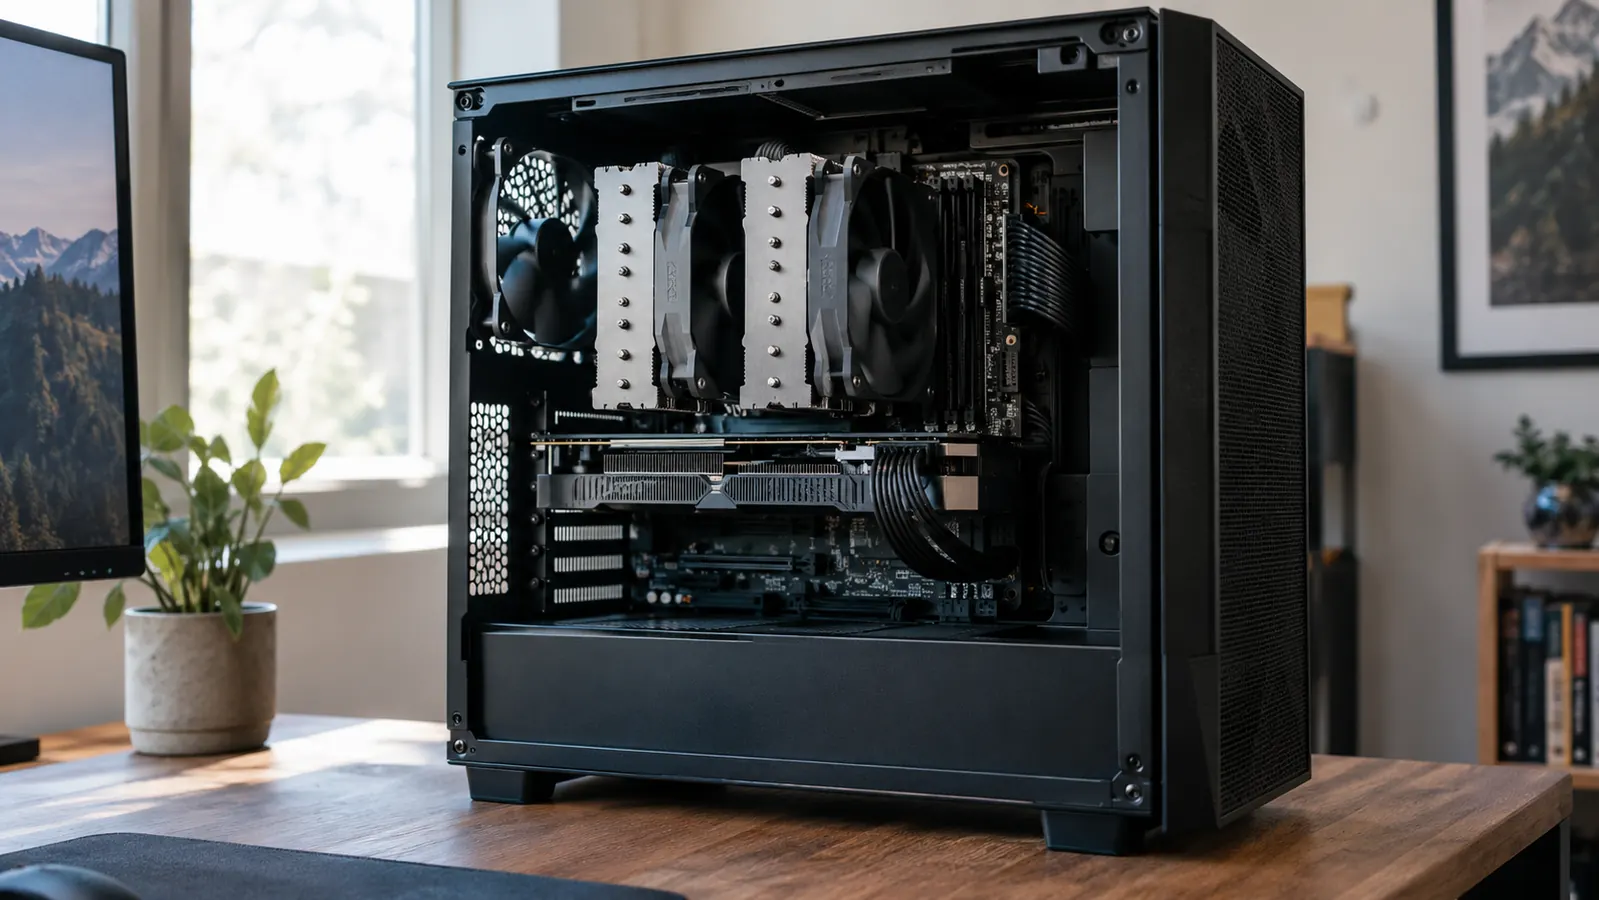
After two years with this cooler, I don't think about CPU temperatures anymore. That's the real test. I installed it, set a sensible fan curve, and moved on. My CPU stays in the low 60s during gaming, and the only time I notice the cooler is when I clean the dust out of the case.
Every build is a little different, so don't be surprised if your numbers are a few degrees off mine. Case airflow, ambient temperature, and the CPU itself all play a part. What matters is that the cooler is mounted squarely, the fans are spinning, and your CPU is no longer throttling. If you follow these steps, that's what you'll get. If you run into trouble, the first thing I check is always the mounting pressure, so start there.
The Thermalright Peerless Assassin 120 SE keeps my CPU in the low 60s while gaming, and the fans stay at a level I can barely hear.
Ready to drop your CPU temps?
The Thermalright Peerless Assassin 120 SE has been on my CPU for two years, through daily gaming and weekend sessions with my son Owen. It's quiet, it's effective, and it doesn't leak. Check today's price on Amazon and see if it fits your build.
Amazon Check Today's Price on Amazon →