
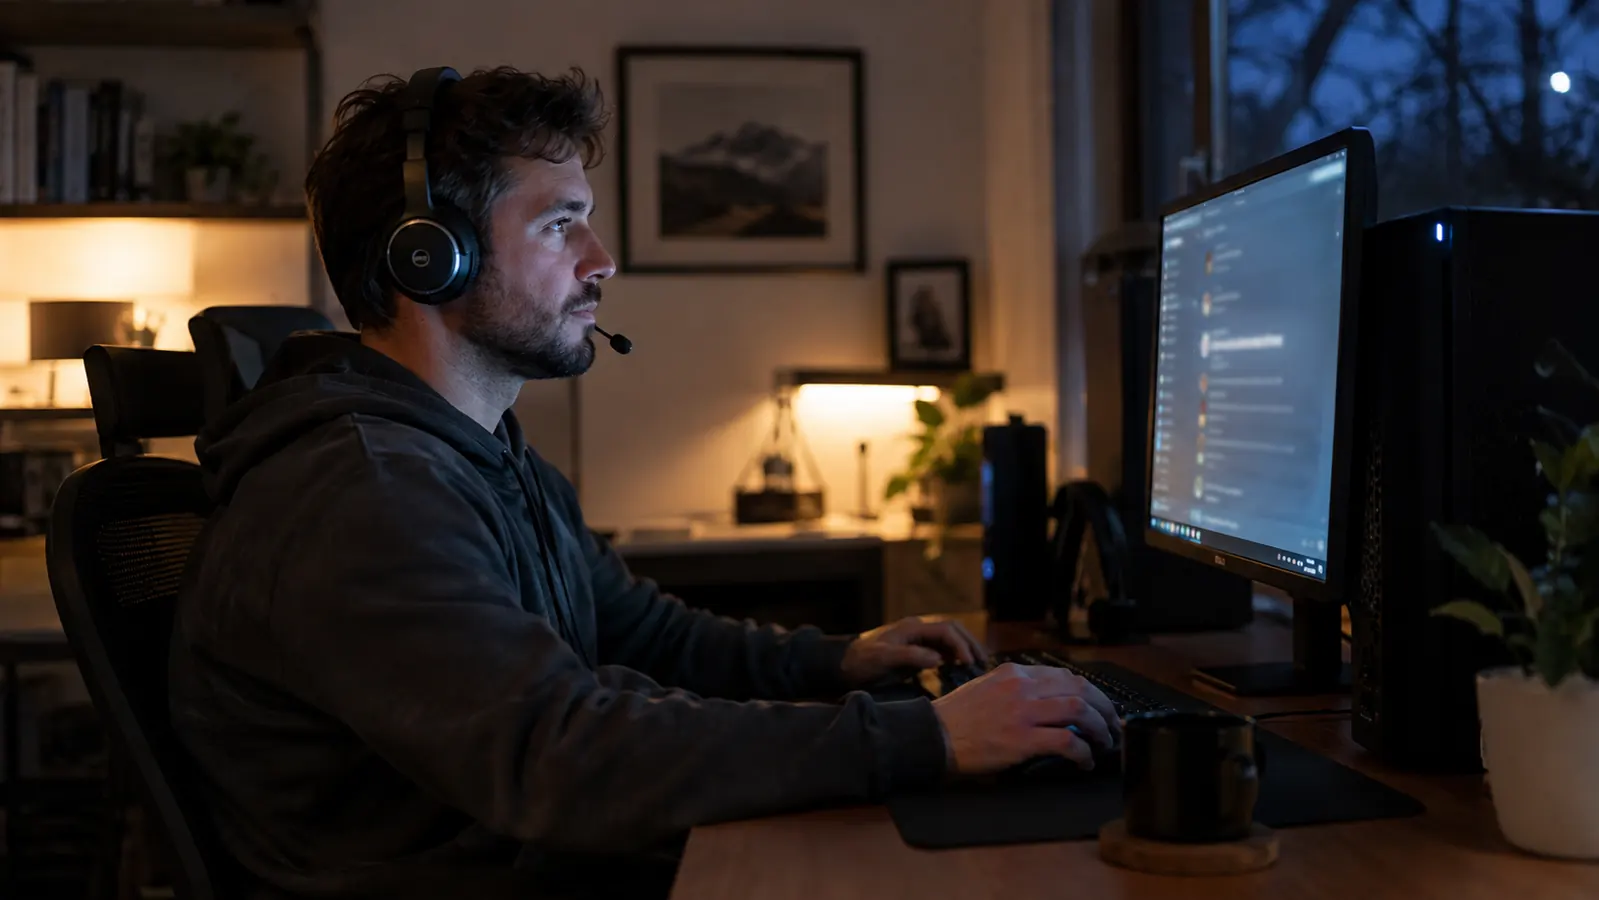
If you've just plugged a HyperX Cloud II into your PC and the microphone sounds like you're talking through a closed door, or the 7.1 surround sound button seems to do nothing at all, the headset is probably not the problem. I've built and upgraded gaming PCs as a hobby for about twenty years, and I work in IT support by day, so I've chased down more bad audio setups than I can count. The usual culprit is Windows defaulting to the wrong device, or two surround processors fighting each other, or a mic level pinned at 100.
The Cloud II has been my daily headset at the corner desk in my home office, on the mid-tower I built myself. My son Owen and I use the same PC on weekends, and we both found the out-of-the-box sound acceptable but not great. The fix turned out to be a ten-minute setup, not new hardware. Here's the exact order I'd walk a neighbor through, including the settings to change, the ones to leave alone, and when to ignore the 7.1 button entirely.
Before you start, here's what you need: the Cloud II plugged into a PC running Windows 10 or 11, about ten minutes, and nothing else. No extra software, no driver downloads, no paid app. Everything that matters is built into Windows and into the headset's USB dongle.
Ten minutes of setup, a mic people can actually hear
The HyperX Cloud II has been my daily driver on the PC I built, and the steps below are the exact settings I use. If you're shopping, check today's price on Amazon.
Amazon Check Today's Price on Amazon →Step 1: Use the USB sound card, not the 3.5mm jacks
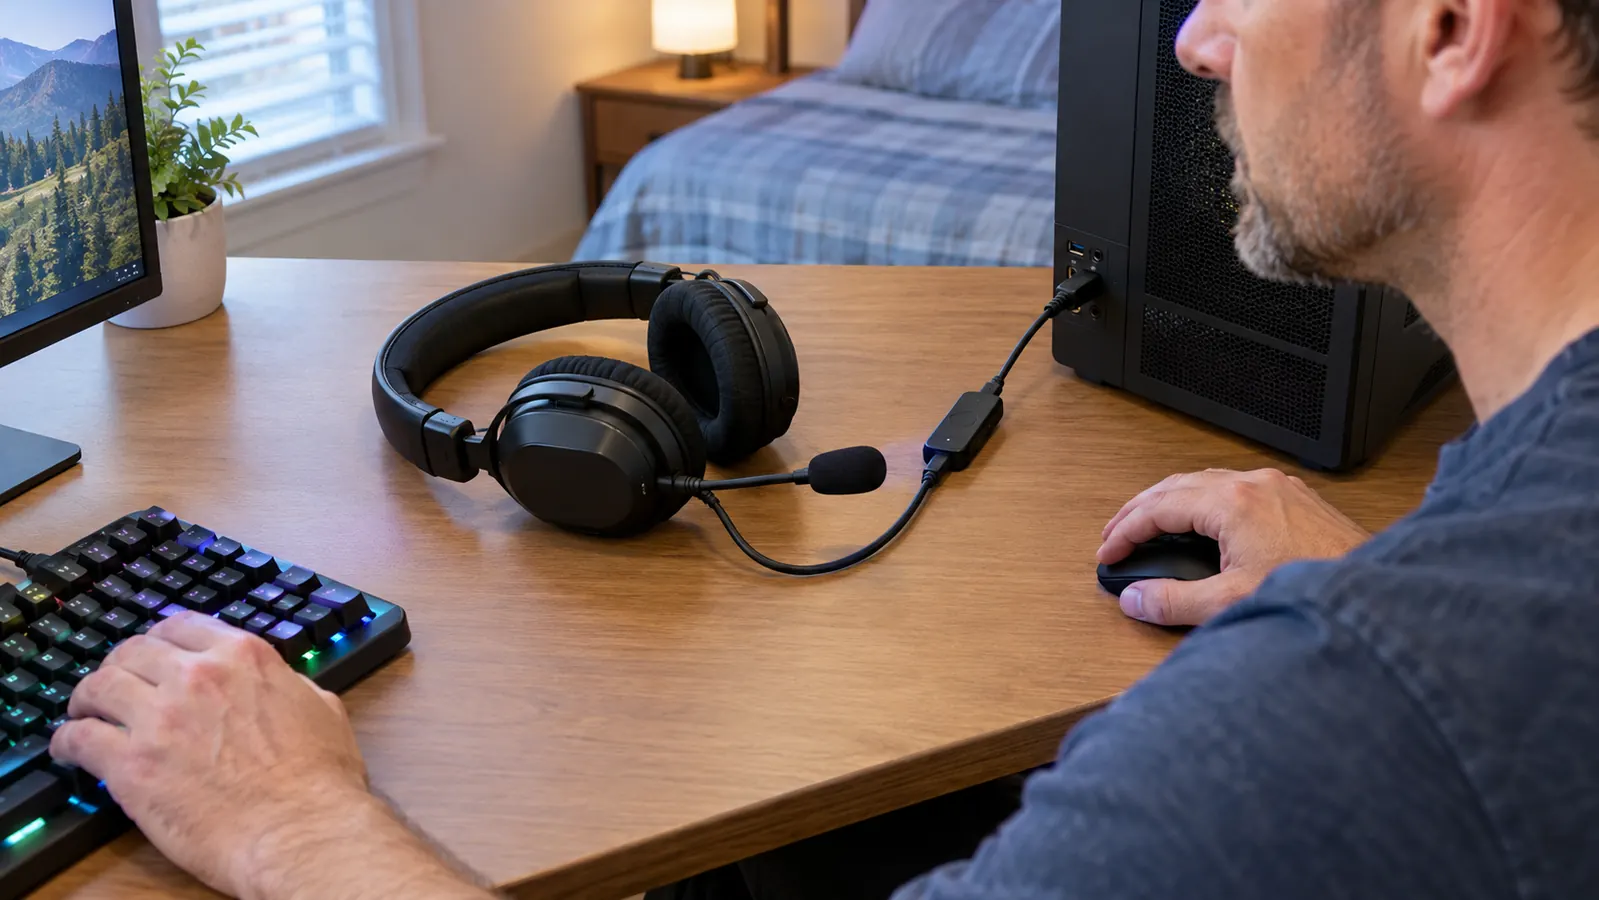
The Cloud II's cable ends in a small USB sound card with a volume wheel, a microphone mute button and the 7.1 toggle built in. On a PC, use that USB dongle and leave the 3.5mm jacks in the box. The dongle is the whole point. It handles the digital-to-analog conversion outside your motherboard, it carries the virtual surround processing, and it gives you a hardware mute that works in every game and every voice app at once.
Plug the dongle into a USB port on the back of the motherboard, not a front-panel port and not a hub. Front ports and hubs share power and data with everything else on that controller, which is where faint hiss and the occasional crackle come from. Rear ports sit closer to the chipset, and on my rig they've been dead quiet for months.
Once Windows recognizes the headset, set it as the default for both output and input. Right-click the speaker icon in the taskbar, open Sound settings, and pick the Cloud II in both dropdowns. Then open the classic Control Panel sound window (Win+R, type mmsys.cpl, press Enter) and do the same there. Windows loves to hand the default back to your monitor's speakers or your webcam's mic whenever you plug something in, and half of the 'my headset suddenly sounds bad' stories I hear are just the wrong default device.
Step 2: Set the output format and turn off the things that fight the headset
With the Sound control panel open, find the Cloud II under Playback, open Properties and go to the Advanced tab. Set the default format to 16 bit, 48000 Hz. That's DVD quality, and it's more than enough for games and voice chat. You can choose 24 bit if it makes you feel better, but the 48 kHz number is what matters. Anything higher just costs a little CPU for no sound you can hear.
Now go to the Enhancements tab and tick 'Disable all enhancements.' Windows' bass boost, virtual surround and loudness equalization all process the audio a second time, after the dongle has already done its job. Two processors in a row turns clean sound into mud. You want one device doing the sound work, not a stack of them.
Finally, check the Spatial sound tab and set it to Off, unless you deliberately want Windows Sonic or Dolby Atmos for Headphones. This is the step everyone skips. If the dongle's 7.1 is on and Windows Sonic is also on, you're layering two virtual surround systems, and the result is that hollow, phasey sound people blame on the headset. Pick one: the dongle, or Windows Sonic. I use the dongle and keep everything else off. To check your work, open a game or a music track you know well and listen before and after each change. You're aiming for clean, neutral sound, not louder sound. If something suddenly sounds boomy or hollow, undo that one change and move on.
Step 3: Know when to use the 7.1 button and when to leave it off
The 7.1 button on the dongle toggles between stereo and the virtual surround mode. One press gets you the wider, more spacious presentation, another press drops you back to plain stereo. In single-player games with big soundtracks and ambience, like Cyberpunk 2077 or Red Dead Redemption 2, I leave 7.1 on. The extra sense of space is real, and it makes the world feel bigger.
In competitive shooters, test both and trust your ears. Games like Counter-Strike 2 and Valorant run their own spatial audio inside the engine, and they expect a plain stereo headset so they can do the positioning themselves. With those titles I keep the dongle in stereo. The 7.1 mode isn't automatically better. It's a tool, and the right move is to use it where it helps and switch it off where the game is already doing the job.
One honest caveat: virtual surround can only place what's actually in the mix. If a game's audio is thin, 7.1 just makes the thin audio louder and wider. The Cloud II can't invent footsteps that were never recorded. That's a source problem, not a headset problem. One more thing: if a game offers its own headphone or spatial audio mode, use that and leave the dongle in stereo. If it doesn't, the dongle's 7.1 is your option. One spatial audio system per game. Stacking the game's audio, Windows Sonic and the dongle together just makes a mess.
Step 4: Position the mic and set the input level so people can actually hear you
The Cloud II's microphone is detachable and the boom is flexible. Bend it so the mic sits at the corner of your mouth, about a finger's width away, angled slightly to the side. Dead center in front of your mouth is where 'p' and 'b' sounds turn into little thumps, and too far away makes you sound like you're calling from another room. The corner-of-the-mouth position is the sweet spot, and it takes two seconds to adjust.
In the Sound control panel, open the Recording tab, find the Cloud II mic, open Properties and go to Levels. Start at 80 and have someone listen while you talk. I had Owen sit in on Discord one Saturday and we settled on 82. Maxing the slider to 100 usually just adds hiss and picks up more room noise. Set the Advanced tab on the mic to 48000 Hz as well, so the input and output are on the same page.
Use the mute button on the dongle when you need a hard mute. It's right there on the desk, it works in every app at once, and it's a lot more reliable than hunting for a mute icon mid-game. In Discord, set the Cloud II as the input device and turn on noise suppression and echo cancellation. If you have a mechanical keyboard or a fan nearby, that pair of settings does more for clarity than any Windows tweak. If you're still quiet after all that, raise the input level in your voice app instead of pushing Windows past 90. Small gain in two places beats one slider cranked to the top.
Step 5: Tune per game and per app, then write down what you changed
Some games and voice apps let you choose an audio device by name. Set them to the Cloud II instead of leaving them on 'default.' Windows 11's volume mixer also lets you assign a different output device per app, which is handy when you want game audio in the headset and a video call on speakers. It's more control than most people need, but it's free and it's there.
Depending on which revision of the Cloud II you have, the HyperX Ngenuity app may or may not detect it. Mine doesn't, so I work with the dongle controls and the Windows settings above, and I don't feel like I'm missing anything. If yours does show up in the app, you get an EQ and a few extra conveniences. If it doesn't, you still have volume, mute and 7.1 right on the dongle.
Last thing: write down the settings that work. Windows updates and driver updates have a habit of resetting audio devices, and when that happens you want to know exactly what to flip back. My own checklist is short: dongle in a rear USB port, Cloud II set as default for output and input, 16 bit 48000 Hz, all enhancements disabled, spatial sound off, mic at 82, and the 7.1 button set per game. It takes about ten minutes to redo, and it gets me the same result every time. And after a Windows feature update, spend thirty seconds checking the Sound panel before assuming the headset died. Nine times out of ten the update flipped the default device or re-enabled an enhancement, and the fix is two clicks.
What Else Helps
Two small things make the setup more reliable. First, in the speaker Properties under the Communications tab, set 'When Windows detects communication activity' to 'Do nothing.' The default ducks your game volume by 80 percent whenever Windows thinks you're on a call, which is the reason game audio mysteriously drops the second you join a voice chat. Second, give the dongle its own USB port. Chaining it through a hub that's also carrying a webcam and a wireless adapter is asking for interference. One spare rear port avoids a whole category of phantom glitches.
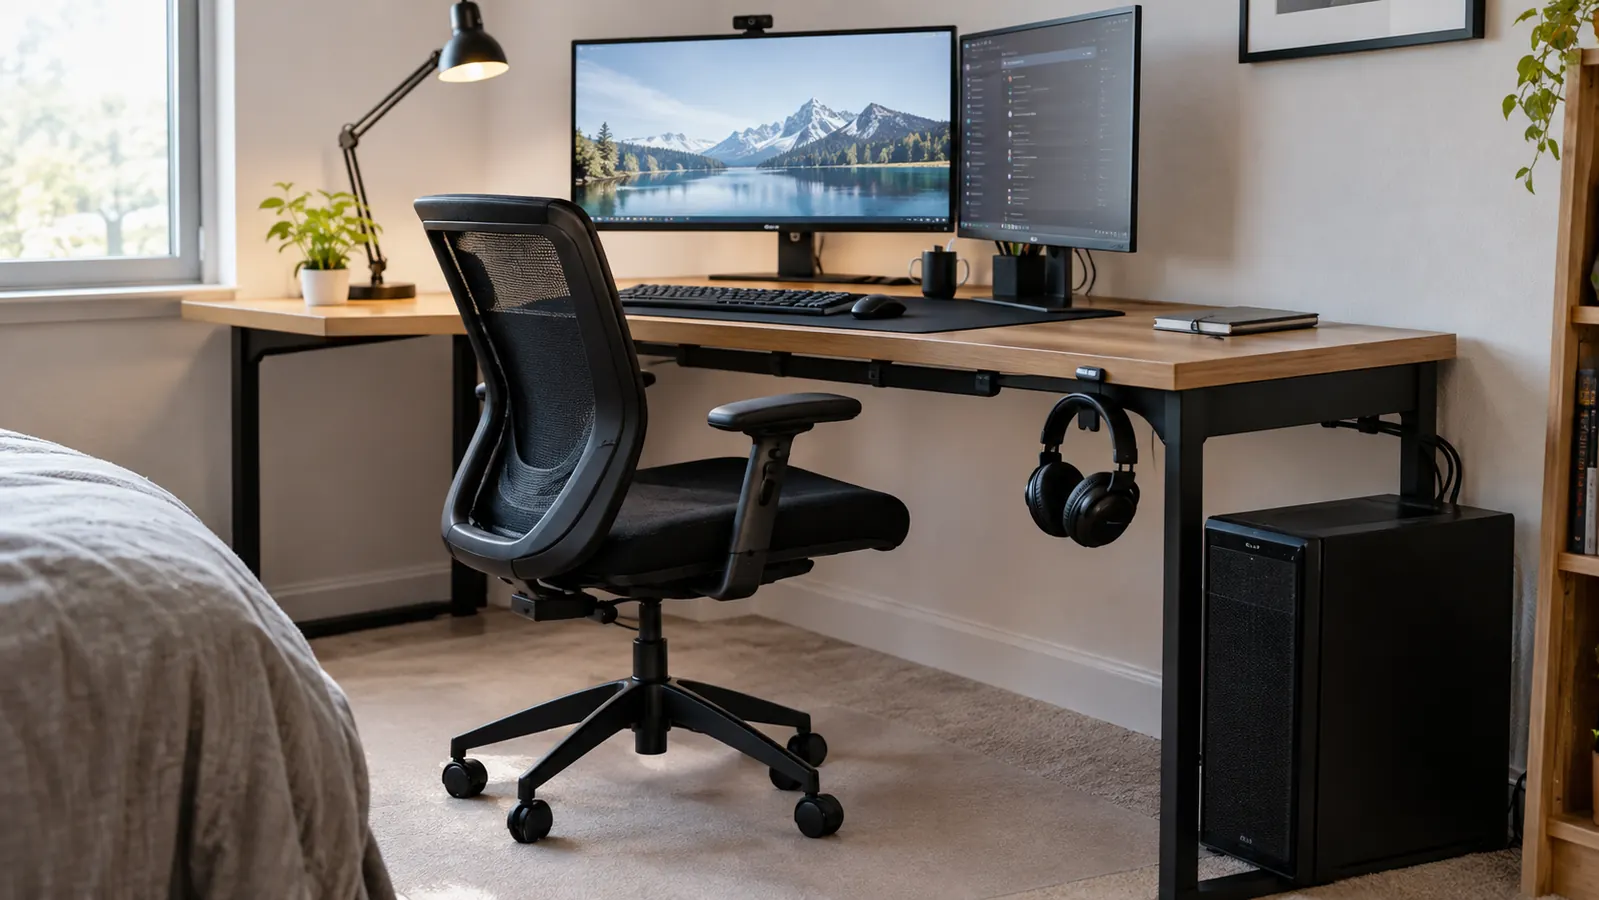
Since the Cloud II's cable is long, I also keep a headphone hook under the desk. It keeps the cable off the floor, out of the chair wheels, and within reach when I want to hang the headset up between sessions. It's a simple hook, and it does more for cable tidiness than anything else on my desk.
If you ever hear the headset drop out for half a second, check the USB power settings. In Device Manager, find the USB Root Hub entries, open Properties, go to Power Management and untick 'Allow the computer to turn off this device to save power.' That setting has caused more random audio blips on my machines than any driver.
That's the whole setup. It took me longer to type this out than it will take you to do the steps, and you only have to do them once. The Cloud II is a solid headset on its own, but the difference between 'fine' and 'good' on a PC is almost always the settings around it, not the hardware on your head.
The fix was never the headset. Once I turned off Windows Sonic and let the dongle handle the surround processing, footsteps in Hunt: Showdown finally had a direction I could trust.
Ten minutes now, clear audio every session
The HyperX Cloud II is comfortable for long sessions, the aluminum frame has held up to daily use on my desk, and once you make these adjustments, the mic is clear and the surround does its job. If you're shopping, check today's price on Amazon.
Amazon Check Today's Price on Amazon →